Docker - 來將React專案製作成Image吧
2024-06-16 03:00
前言
為何需要 Docker Image?
當你需要讓專案給別人使用或是在別台電腦使用,並且不想影響到該電腦的環境,那這時就會需要 Docker Image。
目標
將 React 專案製作成 Docker Image 並讓其他人可以下載,本目標可以拆成三個步驟:
- 創建專案
- 製作 Image
- 上傳至 Docker Hub
步驟 1
先創建一個名為 docker-react 的專案:
2024-10-29 更新,由於 create-react-app 已棄用可以前往這裡使用vite來新增專案。
console1npx create-react-app docker-react --template typescript
接著我們需要 build 該專案:
console1cd docker-react
2npm run build
步驟 2
接著我們在 docker-react 的專案根目錄新增兩個檔案 dockerFile 和 nginx.conf
dockerFile
dockerfile1From nginx:latest
2copy build /var/www
3copy nginx.conf /etc/nginx/conf.d/default.conf
第一行: 使用 nginx 當基底
第二行: 將剛剛 build 好的檔案放入/var/www
第三行: 將我們創建的 nginx.conf 檔案 放入 nginx 的預設路徑
nginx.conf 如何設定可以看這裡
現在可以開始製作 Image 了:
console1docker build -f .\dockerFile . -t docker-react
創建好後,試著在本地執行:
console1docker run -it -p 80:80 docker-react
打開http://127.0.0.1/,就可以了我們的專案了。
步驟 3
接著我們要將剛剛創建好的 Image 上傳至Docker Hub讓其他人可以下載
- 打開
https://hub.docker.com/,創建帳號並登入 - 點擊
Create repository,讓我們 Image 有地方上傳 - 接著執行兩行代碼:
console1docker tag docker-react {username}/docker-react:v1
這行的意思是將我們本地的 Image 連接到剛剛創建的repository,v1是版本的意思
console1docker push {username}/docker-react:v1
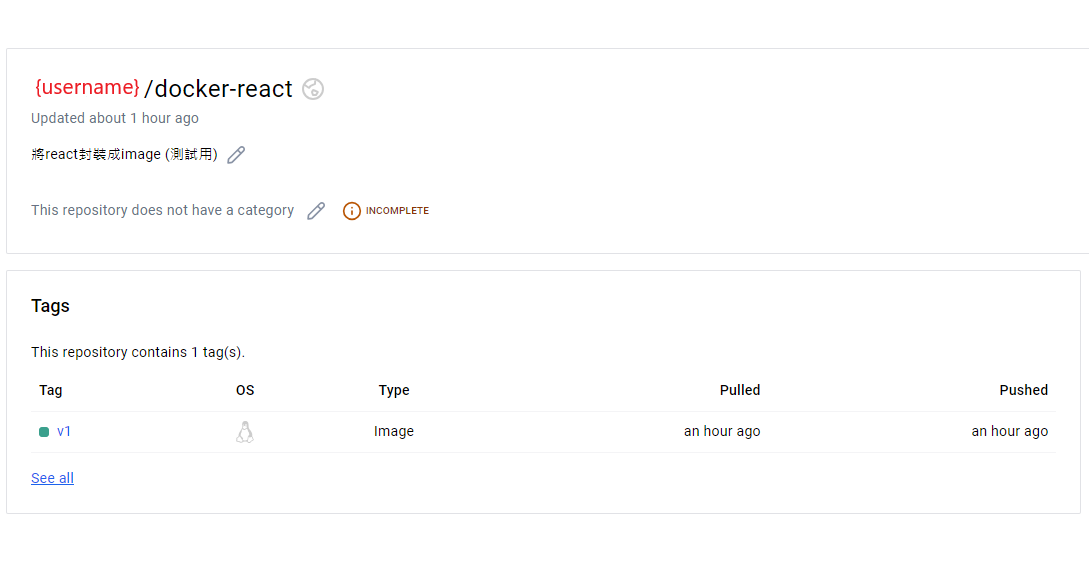
就可以在 Docker Hub 看到我們的 Image 了
最後
這樣就完成了 Docker Image 的建置,將 react 封裝成 Image 並不會太難,希望能幫助到沒有接觸過 docker 的人,下次見~